Tuesday, July 30, 2013

Juneberries and Cedar-Apple Rust

Wiese Acres Juneberries
Juneberries are a prized fruit in North Dakota, made more precious by the fact that is one of the few lusciously sweet, North Dakota native fruits that can be enjoyed straight off the shrub, with no extra sugar or special processing.  They are delicious just as they are, but are even better with a little cream and sugar; or made into pies,  kuchens or other wonderful desserts; jams and jellies, or even dried.  Berries can be frozen or canned for use throughout the year.

In addition to tasting great, juneberries are a nutritionally excellent food.  They are high in fiber and in anti-oxidants, as well riboflavin and biotin.   They are an excellent source of manganese, as well, providing 70% the daily minimum requirement in just one half cup serving.

Scientifically known as Amelanchier alnifolia,  juneberries are commonly known by many names.  Our neighbors to the north call them "saskatoons" and thought so highly of these delicious berries that they named the city of Saskatoon, Saskatchewan after them (or so they claim).  They are also known as serviceberries, shadbush berries, and pigeon berries.  They grow in most of Canada and western and north central United States.

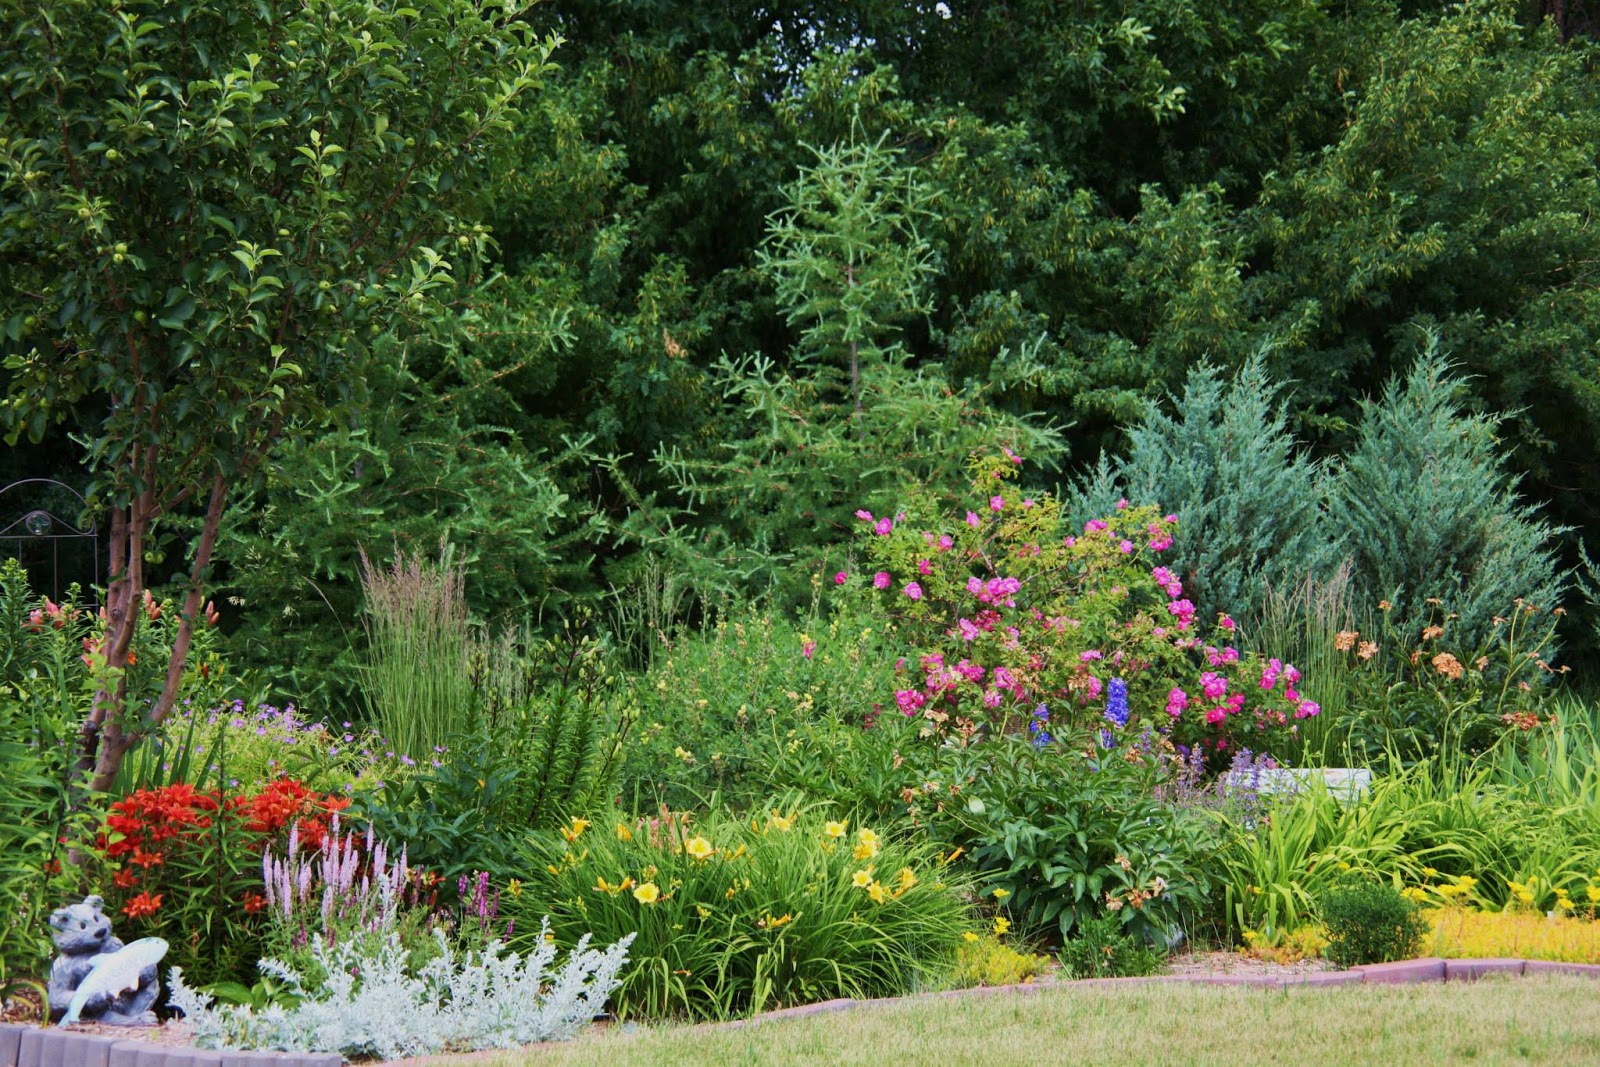
Juneberries grow on a shrub or small tree, sometimes reaching as much as 20 to 25 feet tall in the wild.  The shrub suckers freely, so if planting it in a domestic setting, it needs to be given plenty of  room to spread.  In early spring, the entire shrub bursts into a mass of creamy white blossoms, and here in North Dakota, we hold our breath, hoping for no late frosts to nip the buds and prevent fruit set.

Once the fruits are set, it requires vigilant watching to protect the ripening berries from birds, who know all about the taste and nutritional benefits of eating juneberries.    As soon as those fruits are set, the robins, cedar waxwings and orioles begin to watch them carefully.  When the berries begin to turn the least bit pink, they send out the word "dessert buffet in the juneberry patch" and fruit eating birds from miles around come and clean those bushes slick as a whistle in one afternoon.

 Now, I wouldn't begrudge them a berry or two, but they are just plain hogs!  They don't want to leave a single berry for me to enjoy.  And then, they leave the evidence of their gluttony all over my outdoor furniture, the concrete driveway, the rocks around the pond - anywhere they pass by.  And that bright purple juneberry dye is some potent stuff to try and wash away!

 So, I try to outsmart them each year but putting bird nets around the bushes.  Similar to keeping birds out of the strawberry beds, you need to weave an ingenious and intricate webbing of net to keep them from pecking their way through, or from finding their way under it.  We place multiple layers of netting in different directions and tack them solidly to the ground using landscape staples.  This is usually pretty effective, but every once in a while a persistent little  bugger finds its way through, gorges itself, then goes crazy trying to find its way back out.  They are smart enough to get in, but never remember where they found that opening so they can get back out.  Luckily for them, my husband takes pity on them and loosens the net to let them out.

We leave the nets on until the majority of the berries are ripe enough to pick.  Once we remove the nets, all the berries we want need to be picked, because if we leave for an hour, the birds move in  and clean up the rest.

In spite of being called "june" berries, they rarely ever ripen in June here.  Generally, I expect to be picking juneberries right around the 4th of July.  This year, it was a two and a half weeks
later before they were ready to pick.

I was disappointed to find that the cool, wet springs we've had the last two years have had some negative effects on my juneberry bushes.  Juneberries are members of the same family as apples and are vulnerable to the same diseases.  This year, there was evidence of cedar-apple rust on my juneberries.  Cedar-apple rust is a Gymnosporangium  fungal disease that manifests itself on juneberries with "furry" growths on the berries, beginning at the blossom end and eventually consuming the entire berry, making it unfit for eating.

Cedar-apple rust begins on the trees of the cedar family and is evidenced by galls,  round, bumpy swelling on the stems, which develop over the course of two growing seasons.  The fungus is not spread until the gall develops "telial horns", long, orange,  jelly- like tendrils that emerge from the indents of the gall.  The spores only spread when the temperature is between about 50 and 85 degrees  farenheit.  Cedar-apple rust infection doesn't particularly harm the tree but spreads readily to plants in the apple family and interferes with production of the fruits.  It can be spread from trees up to a mile away, so while there is no evidence of galls on my juniper and cedar trees, it could be coming from trees anywhere within a mile or so from Wiese Acres.

If I find any galls on my trees in the future, I'll plan to prune them out in the late winter.  The key is to prune them out and destroy them before those telial horns develop, as the horns are where the spores are released.  The problem is that even if I prune the galls out of my trees, if the trees within that mile or so radius aren't also trimmed, I could still develop infections in my juneberries and apples.

So, I'll begin a fungicide spraying regime that I will continue every two weeks from now until the shrubs are dormant.    Then I'll begin it again in the spring, starting at blossom time and continue it  every two weeks .  Some of the fungicides effective against cedar-apple rust are chlorothalonil, mancozeb, triadimefon, propiconazole and myclobutanil.  Captan, which is an often recommended fungicide for use on edibles, is not effective against cedar-apple rust.  Based on the research I've reviewed, it appears that myclobutanil, marketed as Immunox, might be my best bet.

 So, one of these evenings, I'll don my protective spraying clothing, get my fungicide sprayer loaded up and douse those shrubs to the point of run-off.  With all fungicides, it's critical to get complete coverage of all the foliage and bark to eradicate the infection.  That won't be too much of a challenge on my juneberry bushes, which are only about 6 feet tall, but when I'm done with that, I'll need to inspect my apple trees for the tell-tale yellow spots on the top surface of the leaves.  And if they show up, I might need to call in a professional to reach the tops of the 25 to 30 foot tall trees.

That might have been a good reason to plant only dwarf varieties....but in the meantime, I'm going to enjoy eating those juneberries.

Thursday, July 25, 2013

Lilies


Wiese Acres Asiatic lilies

I love lily season in the garden.  There are so many colors, sizes, and even shapes of lilies that there is always something new to look at.  True lilies are members of the lilium genus and grow from tough, scaly bulbs that are planted in the fall for brilliant blossoms the following summer, and many summers thereafter.  In addition to the gorgeous blossoms, most lilies have a delicious fragrance that can perfume the entire yard.  They grow in most any conditions, although they don't want to be in standing water or constantly soggy soil. 

For gardeners in the very warm zones 9 and 10, lilies do need to be lifted at the end of each growing season and placed under refirgeration for at least eight weeks to enforce a period of dormancy and chilling.  Without this, the lilies will not bloom the following season.  For gardeners in regions where there is a natural period of chilling, once these bulbs are planted, they are relatively carefree for many years.

Lily bulbs need to be planted deeply to encourage solid root growth and good anchoring of the stem and flowers.  The stems can become quite top heavy and topple without the encouragement to develop thick, fleshy stems.  Lily bulbs should be planted three times as deep as they are tall, e.g. if the lily bulb is 4 inches tall, it should be planted in a hole 12 inches deep.  The bulb should be placed in the hole pointy side up, but if it happens to tip over, don't worry - it will find a way to grow up to the daylight..  The bulbs should be spaced at a distance that is about three times the size of the diameter, e.g. if the diameter of the bulb is 2 inches, they should be planted 6 inches apart.  Planting them closer than that will necessitate early division and transplanting of the lilies.

Lilies prefer soil that is slightly acidic but will adapt well to alkaline soils.  I top dress my lilies with about 2 inches of good, rich compost each spring.  They like lots of loose, organic matter so this makes them very happy.  The additional organic matter also encourages good drainage around the bulbs so I don't have to worry about rot in my heavy clay soil.

The downside of lilies is that they have a relatively short bloom cycle.  I counter this by planting a variety of lilies, with some that bloom early, middle, and late seasons.  There are actually nine different classifications of lilies, but I have three that do very well in my North Dakota gardens:  Asiatic, Oriental, and old-fashioned tiger lilies (a native lily that may actually be part of the Oriental family).  All three bloom at different times, allowing me to have lilies in my garden from mid-June through the end of August.


Wiese Acres Asiatic lily "Elodie"


Asiatics are the first to bloom and are very easy to grow.  They come in all colors except blue and all the colors are intense and showy.  These do not have the fragrance of the Orientals, but they add so much color to my garden that I am willing to forgive them their failure at the sniff test.  Asiatics come in a variety of sizes from just a foot tall to over 5 feet.


Wiese Acres Oriental lily "Stargazer"

Orientals bloom from mid to late summer and have a wonderful fragrance that becomes more intense after dark.  Orientals produce masses of huge blossoms in whites, pinks, reds, and bi-colors.  There are some Orientals that grow as tall as 8 feet and some that are as short as 2 feet.  Most that thrive in my zone 4 garden are around 3 feet tall.


Wiese Acres Tiger lilies


Tiger lilies are the latest to bloom.  They come in orange and yellow with black spots on the petals, and grow to about 4 feet tall.  These are distinguished by the "bulbils" that form up and down the stem, tucked into the axis where the leaves attach to the stem.  These bulbils are the Tiger lily's means of reproducing.  Like most native plants, the Tigers go just a tad bit overboard with the reproduction thing and I find myself pulling up hundreds of seedlings from the gardens where the Tigers are planted.  Even so, these old-fashioned plants make a colorful statement in the late summer garden and are well worth having around.


To perform their best, all lilies need about 1 inch of water per week, but will survive on much less.  I keep mine watered during their peak bloom time and then back off on watering.  The lower leaves may turn yellow and begin to drop, but they survive quite well with less than an inch of water per month if they need to.  The very tallest lilies may need some staking to hold their heads upright when they are loaded with blossoms, but for the most part the large, thick stalk manages well enough on its own.  When they are done blooming, you can cut the stalks back to just a few inches, but I leave mine just as they are.  It's hard to not love a plant that doesn't need to be deadheaded and still looks just fine.

Lilies are virtually pest and disease free.  Sometimes in extremely wet and humid summers, gray mold may develop on the leaves and stems.  This is usually easily controlled with a fungicide.  Slugs may chew on the buds and blossoms, although they will usually look for easier buffets in amongst your hostas and other plants that provide lots of protection close to the ground.  Deer and rabbits love to munch on the buds and if any of you figure out how to control those pesky buggers, please let me know!

Lilies make great cut flowers, sometimes lasting two weeks or more in vases.  It is best to cut the lilies in the cooler morning temperatures, making a diagonal cut so there is more surface to "drink" the water.  They should be cut with a sharp knife, rather than a scissors, to keep from crushing the stem.  Remove the lower leaves by closing your fingers around the stem just above where it will emerge from the water, and then pulling your fingers down the length of the stem.  You want to make sure that no foliage is actually in the water.    I also always remove the pollen covered stamens, for two reasons.  One is that the flowers may last a bit longer without the stamen intact.  The main reason, though, is that the pollen will begin to "dust" off and will discolor anything it touches, whether that be the petals of the flower, your clothes, or your carpet.  I have yet to find anything that will remove that pollen stain from fabric.  I use a small scissors, like a cuticle scissors and get as far back into the blossom as I can and snip the stamens off and throw them in the garbage.  Viola - no more pollen worries!

I can't think of a single reason to not grow a variety of lilies in my yard.  By choosing the variety of early, mid, and late season bloomers, I have these spectacular beauties around for much of the summer.  It doesn't get much better than that!

Tuesday, July 23, 2013

Sweet Corn and Wind

One of my favorite memories of summers on the farm revolves around sweet corn time.  Mom and Dad always planted several acres of sweet corn and sold it right from the farm.  The last price I remember selling it for way back when was $3.75 per bushel - about four dozen ears.  From the time I was very young, my job was to take the customers to the sweet corn field and help them pick the corn. 

And then there was the eating.  There is nothing like picking a batch of corn, husking it, washing it and dropping it directly in the pan to boil.  There is no time for those sugars to begin to turn starchy and that sweet corn, hot and dripping with REAL butter, tastes like heaven.  So, it's no surprise that there is always an ample amount of sweet corn in my home garden.

I plant at least four different varieties - one very early maturing, two mid-season maturing varieties that I use for canning and freezing, and one late season variety to extend that little bit of heaven just a bit longer.  Yum, yum, yum.  I can hardly wait.

Corn on the ground


Imagine my dismay, though, when I looked out at my garden after a fast moving, violent thunder storm that clocked 60+ mile per hour winds on Sunday evening.  There was not a standing stalk of corn in sight!  Every single one of my beautiful corn stalks was laid flat on the ground.  I have been involved in corn growing every single year of my life and have never seen a field or garden plot where not even one stalk peeked even the least little bit up from the ground.

I believe this happened because of a combination of factors.  We have worked a lot of organic material into that garden plot, so the soil is very loose.   Corn does not have a very deep root system to start with, and this year the roots are more shallow than most.  This is probably related to the rain we had during its peak growth time - the moisture was abundant so the roots didn't need to seek very far below the surface to find the moisture they needed to grow.  Those two factors, combined with driving rain that washed some of the soil away from the roots and the wind that did the rest, laid my corn crop pretty low.


Corn rejuvenated

When it comes to sweet corn, we are not ones to give up easily, though, so last night my husband and I were out there trying to salvage our corn crop.  We started by driving steel fence posts in several places along the length of the corn row.  Then we carefully lifted the downed stalks and set them upright.  We threw away any that had damage to the stalk itself, but most had simply been lifted out of the ground by their roots.  We replaced the soil around the roots and packed it in tightly.  Then, we strung medium weight rope tightly from post to post on either side of the corn to hold it upright.  After that, we went to the house to have a cold beverage and hope and pray that there will be no wind or driving rain for the next few days.  That will give the roots time to reset and hopefully be better prepared to withstand what Mother Nature brings their way from now until harvest time.


And let's hope it stays that way!


Thursday, July 18, 2013

Back from vacation -

Well, the wedding is over, the company have all returned home, and we've had a few days to relax.  What a whirlwind of activity, but it all was topped by a wonderful wedding celebration.  Wiese Acres got a good work-out with a number of "resident" guests for the weeks before and after the wedding!  I wish that the gardens would have had their normal early July colors, but blossoms continue to be a good two weeks behind their usual time of appearance.   Oh, well.  It was still beautifully green thanks to a few rain showers and moderate temperatures.

Instead of daylilies and echinacea, we had peonies and penstemon, a few delphiniums, Asiatic lilies in bright colors, and lots of yarrow.  We had to supplement the garden flowers with some Bells of Ireland and Gerbera daisies from a wholesale floral source, but our decorator managed to put together some beautiful arrangements for the reception hall.

After the wedding, we celebrated the gift opening with a Hawaiian luau at Wiese Acres.  It was a hot, very humid day, so it was easy to believe we'd actually made the trip to a tropical island.  But, what fun.


We also took some time to wander through Wiese Acres and see just exactly what was happening in the gardens.


Wiese Acres Fine Feathered Friends Garden


Wiese Acres Fine Feathered Friends Garden


Wiese Acres English Tea Garden

Wiese Acres Memorial Garden
Within a couple weeks, the daylilies will burst into a riot of color.  I can hardly wait!