Sunday, December 30, 2018

Preserving Carrots

Sliced frozen carrots - internet photo
Even the best storing techniques sometimes don't keep carrots fresh for as long as the carrots last. If you have more than you will eat within a reasonable storage time, you'll want to consider more long-term methods of preserving them. Carrots can be frozen, dehydrated, pickled, fermented, or pressure canned.

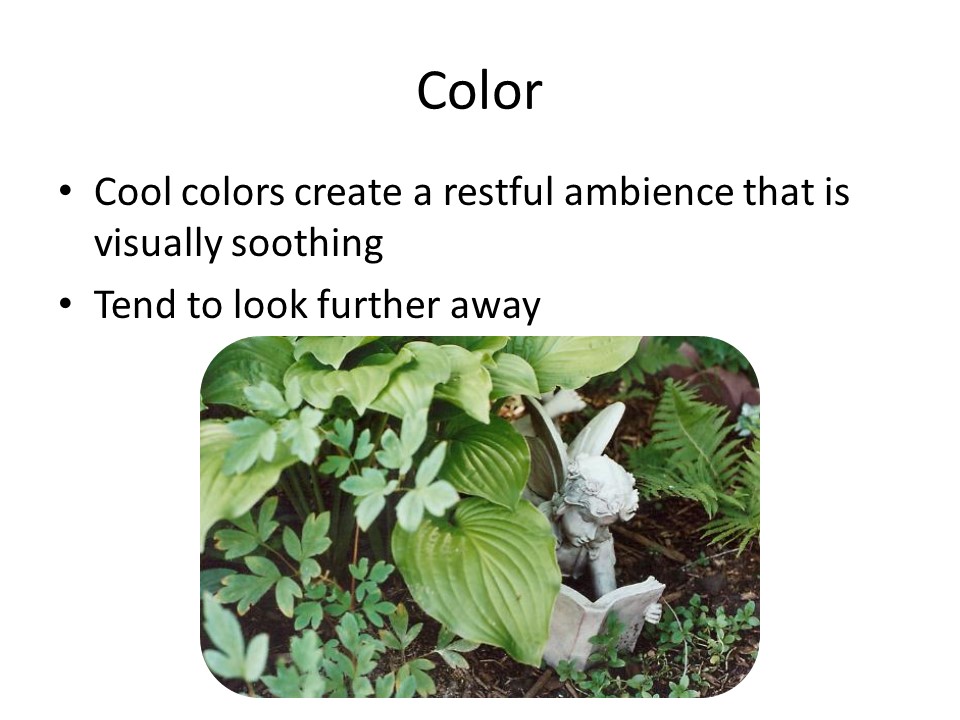
I prefer frozen carrots. It is easy, quick, and yields a good end product. To freeze carrots, choose nice, crisp carrots.  Wash and trim any green off the shoulder of the carrots. Peel the carrots for the best end result. Small carrots can be frozen whole; larger ones should be cut into thin slices, small cubes, or small strips, depending on how you like to use them. Heat a large kettle of water to a rapid boil. Blanch small whole carrots by dropping them in the boiling water for 5 minutes. Slices, cubes or strips should be blanched for 2 minutes. Blanching stops the activity of enzymes that cause undesirable flavor, color, and texture changes in the vegetables. It also cleans the surface of the vegetables of any clinging soil or organisms and helps preserve the nutrients and delicious flavors of the vegetables.

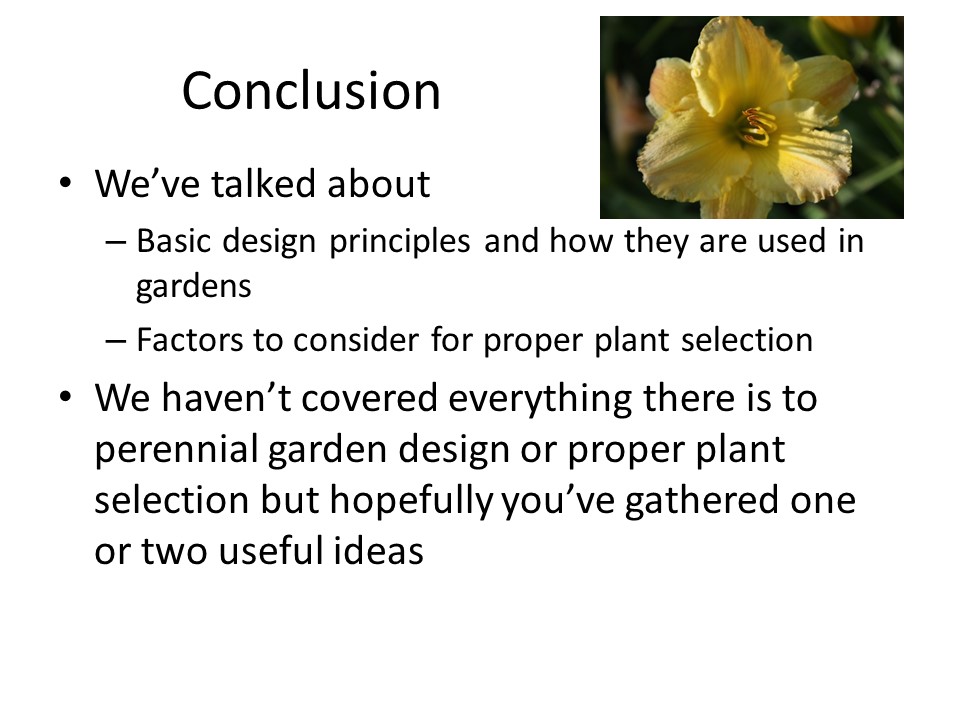
Diced frozen carrots - internet photo
When the blanching time is completed, remove the carrots from the blanch water and immediately immerse them in ice water. Monitor the chill water temperature, and if it warms before the flesh of the carrot is completely chilled, replace the ice water. Once the carrots are thoroughly chilled, drain them well. You can package them in single meal packages right away, if you wish. I prefer to spread the blanched and cooled carrots on towels on the countertop and allow the excess water to dry off. Once they have dried a little, I spread them in single layers on plastic wrapped cookie pans and place them in the freezer. Once they are completely frozen, I put them all in a large freezer bag and stick it back in the freezer. Freezing the carrots singly gives me the flexibility to thaw only what I actually need to use at any given time.

Freezing allows you to preserve the carrots at their peak quality, and it preserves a great deal of the nutrients found in fresh carrots. The color of frozen carrots usually stays a nice, vibrant orange. A disadvantage is that freezing alters the cellular structure of the carrots and they may seem a bit tough or rubbery when they are thawed.

Canned carrots - internet photo
If you aren't a fan of frozen carrots, canning is another alternative.  Carrots are low acid foods and can only be safely canned in a pressure canner specifically designed for canning, following research tested instructions meticulously.  I can't stress this enough.  Canning vegetables is perfectly safe as long as you follow the rules and the directions of research tested recipes.  Failure to do so can be deadly, as botulism loves the low oxygen, low acid environment in a jar of vegetables and other low acid foods. There is no safe way to water bath vegetables.

To assure that you are using safe methods for canning your carrots, look to the instructions from the National Center for Home Food Preservation, the Ball Blue Book Guide to Home Canning latest edition, or your local university extension service.  These are the resources that do food safety research and can steer you to the most up to date safe canning methods.

Carrots can be safely pickled using hot water bath processing. The vinegar used for the pickling process creates a high enough acidity to thwart the dreaded botulism spores and toxins. In order to be sure the vinegar to water concentration creates adequate acidity, you should always use research tested recipes even for pickled vegetables.  As delicious as Grandma's pickled carrots were, they might not be as safe as what we know today we should be feeding our families.  Here is a pickled carrot recipe from the National Center for Home Food Preservation, my "go-to" site for safe canning recipes.

Pickled Carrots

  • 2¾ pounds peeled carrots (about 3½ pounds as purchased)
  • 5½ cups white distilled vinegar (5%)
  • 1 cup water
  • 2 cups sugar
  • 2 teaspoons canning salt
  • 8 teaspoons mustard seed
  • 4 teaspoons celery seed

Yield: About 4 pint jars
Procedure:
Wash and rinse pint canning jars; keep hot until read to use. Prepare lids and bands according to manufacturer's directions.Wash and peel carrots well. Wash again after peeling and cut into rounds that are approximately ½-inch thick.
Combine vinegar, water, sugar and canning salt in an 8-quart Dutch oven or stockpot. Bring to a boil and boil gently 3 minutes. Add carrots and bring back to a boil. Then reduce heat to a simmer and heat until the carrots are half-cooked (about 10 minutes).
Meanwhile, place 2 teaspoons mustard seed and 1 teaspoon celery seed in the bottom of each clean, hot pint jar.
Fill hot jars with the hot carrots, leaving 1-inch headspace. Cover with hot pickling liquid, leaving ½-inch headspace. Remove air bubbles and adjust headspace if needed. Wipe rims of jars with a dampened, clean paper towel; adjust two-piece metal canning lids.
Process pints in a boiling water canner, 15 minutes at altitudes up to 1000 feet; 20 minutes at altitudes of 1001 to 6000 feet, and 25 minutes at altitudes greater than 6000 feet.  Let cool, undisturbed, 12 to 24 hours and check for seals.
Allow carrots to sit in processed jars for 3 to 5 days before consuming for best flavor development.

Dehydrated carrots - internet photo
I do a lot of dehydrating, but I have to admit, I have never dehydrated carrots. As a "starving" college student, I ate a lot of very cheap, packaged dried soup mix. Those little pebbles that passed for vegetables in those packets pretty much turned me off dried veggies for life, But, nonetheless, it is an effective way to preserve vegetables and some people enjoy the end product.

To dry carrots, you begin by preparing them as you do for freezing, right through the blanching process. Instead of chilling them until fully cooled after removing them from the blanch water, simply dip them quickly in cold water and then spread in a single layer on the drying tray. Follow the instructions for your dehydrator as far as temperature and time. When dehydrating any foods, it is important that all the moisture is out if you plan to shelf-store them. If you are going to store them in the freezer, a little moisture will not hurt.

Having a supply of preserved carrots on hand makes it so easy to put a delicious, nutritious meal on the table, even when fresh supplies are not readily available. If you grow your own carrots, it gives you the opportunity to extend the fruits of your labors throughout the year. I love going to my cold storage room, grabbing a couple jars of something, stopping by the deep-freeze to take out whatever I need from there, and then throwing it all together for a quick meal. It doesn't get any better than that!

Saturday, November 3, 2018

Storing Carrots

Carrots (internet photo)
Our vegetable garden at Wiese Acres was disappointing this year. It was a year of extreme temperatures, both hot and cold; wind that wanted to pick up the entire garden and move it to the next county; and extreme drought.  We grew enough to eat fresh and preserve for ourselves for winter use, but that garden plot just was not going to produce enough for us to provide fresh produce to the food pantries and homeless shelters like we often do. We did, however, have a nice crop of carrots.

Not all carrots are created equal when it comes to growing or storage. In a previous blog, I discussed the carrot varieties that grow best in certain types of soil. For storage, I have found Chantenay, Imperator, and Danvers all have good storage characteristics, and this year, Chantenay proved to be my best producer as well.

Carrots can be left in the ground through light frosts but are best harvested before real hard frosts. I know some of our ancestors left carrots in the ground over the winter and harvested them in spring. I tried that one year. Yeah, I think they only did that because they didn't have a better storage option. The texture of those frozen solid carrots was sort of like styrofoam. They were ok for cooking in soups or grinding for carrot cake, but not much else. So, after that experiment, I now dig the carrots after frost, but before ground freeze-up. 

Carrots will store fresh for up to six months, if they are handled properly. I do keep a close eye on mine in storage, though, and if they start to lose quality, I freeze or can what is left. I'll tell you how I do that in a later blog article.

Carrots need to be mature before harvest for the best storage life. Immature carrots tend to go limp or spoil in storage. One way to know if carrots are mature is to simply keep track of the growing time for the particular variety you have planted. If your variety says 90 days to maturity, that's generally about what it takes. Another way is to check the size of your carrots against the expected size of the type you planted. If your variety is expected to obtain a size of one inch at the shoulders and six to eight inches in length, it is probably mature when it reaches that size.  Color can also be an indicator of maturity.  Standard carrots are a deep, rich orange when mature. You can also taste test your carrots to determine maturity. If the texture is firm and crisp and the flavor is sweet, it's harvest time.

I usually try to find a day where it has been dry for awhile before I dig the carrots.  That was not a problem at all this year!  The only reason for this is because it makes it easier to brush the clinging soil off the carrots. I prefer to not wash root vegetables before storing them because the skins are quite tender when they are first dug and the more you handle them, the more likely you are to damage that skin and open the root for bacteria, mold, and fungal infection. Research has shown that unwashed carrots do keep longer and maintain flavor and odor better than washed carrots.

If you do choose to wash before storage, make sure they are allowed to air dry adequately before putting them in whatever storage method you choose.

Anyway, back to the garden.  Cool, cloudy days are great days for harvesting carrots. The first roots dug or pulled usually stay on the surface of the garden or in a basket until I am done with the last ones. Cool, cloudy days make it easier to keep them fresh while they wait for me to get done digging the rows.

I trim the tops to about 1/4 inch above the carrot shoulders.  I leave those trimmed tops lie right on the garden soil and compost them in to help loosen the soil for next year's crop. Then, I lightly brush the soil off the carrots, being careful not to damage the tender skin.

The next step is to sort the carrots by size.  The larger the root, the better the storage potential.  Smaller roots are best used first. Any damaged carrots (you know, those that you sometimes get a little impatient towards the end of the digging and knick them with the potato fork or pull it up too quickly, leaving the tip of the root still in the ground), should also be sorted out and either used or preserved by freezing or canning right away. 

Once sorted, I carefully place the sorted piles in baskets, again being careful not to bruise them. Any bruised area is an opportunity for spoilage to begin. Bruising and shock also stimulates the production of ethylene, which causes bitterness and off odors.  Then, I get to decide how I am going to store them.

Growing up, we had a root cellar. All root vegetables were stored in that dark, moist, creepy (to my childhood mind) place that was at the perfect temperature and humidity to keep fresh food available all winter long. Carrots were left in wooden bushel baskets, with layers of newspaper, straw, sand, or sawdust between them.  Some people still store carrots this way, although root cellars have become few and far between.

I don't have a root cellar where I live now, but I have a cold storage room that closely mimics the conditions in those old root cellars. I either store my carrots in there, or in one of the refrigerators in the summer kitchen. The reason I don't always store my carrots in the cold room is because apples and carrots don't appreciate living together. The gases from the apples cause the carrots to become bitter. I don't have a good way to keep them separated enough, so when I have both crops to store, I usually put the carrots in one of the refrigerators that I set to stay at around 38 degrees.

Unwashed carrots ready for storage
When storing in the refrigerator, I layer them in plastic bags that I have cut slits into in several places.  I use the 2.5 gallon zipper top plastic bags, but any food grade plastic bag will work. The slits allow the carrots to breathe while still maintaining the 95 to 98% humidity they like to stay crisp and firm. I used to place paper towels between the layers of carrots in the bags, but have found that is extra work with no difference in the storage quality of the carrots. This method of storage would work in any cold storage area, but in the cold room, I prefer something that is a bit more protective of the roots.
Cold storage bucket

When I store them in the cold room, I use a 5 gallon bucket that I have drilled air holes into the sides, bottom, and lid in several places. The carrots are layered in those in the same way they are in the plastic bag and stored at the same temperature as the refrigerator. You'll notice on the photo that I drill the holes from the inside of the bucket out - that minimizes rough edges on the inside of the bucket that may damage the vegetables.

There are some advantages to using a refrigerator, if you have the space to do so. Layering them in the clear plastic bags gives you much better visibility to see if any are starting to spoil. With the buckets, I end up taking all the carrots out every month or so to check how they are doing. In the clear plastic bags, I can just turn the bag over and look carefully. It is also easier to maintain the high levels of humidity in the refrigerator than it is in the larger cold storage room.

Even with the best storage option, carrots don't last forever, so in my next article, I'll talk about how to preserve them longer by either freezing or canning.