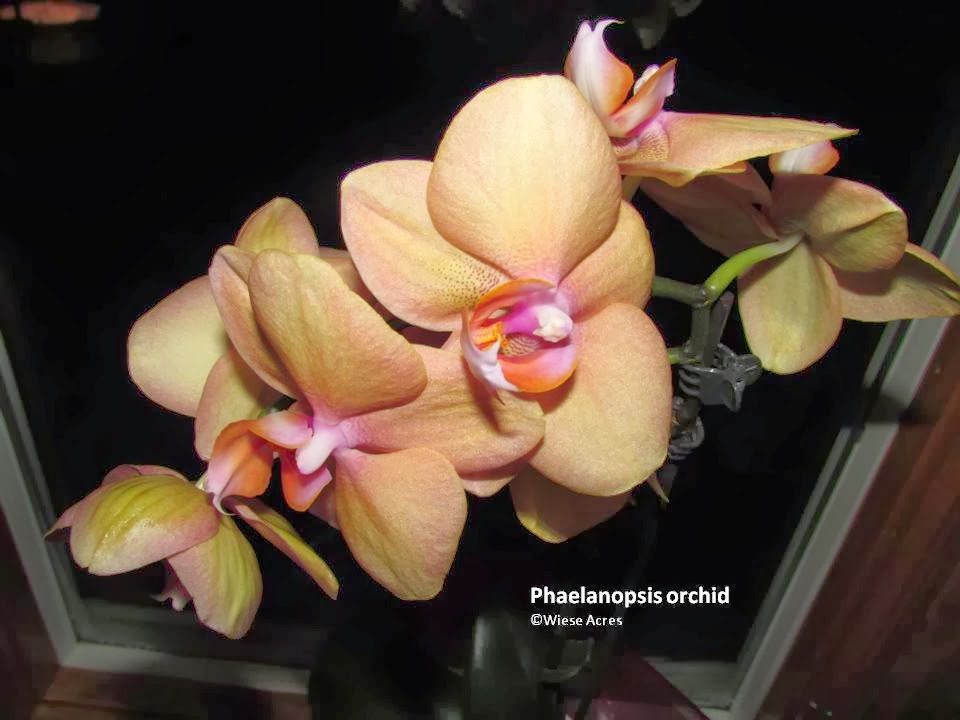
Orchids benefit from regular transplanting. In their native environment, orchids are epiphytes, or air plants. Their roots hang from trees in the jungle, exposed to air and high humidity. When potted, they need to be in a mix that allows lots of air to get to the roots and retains moisture without being "soggy". As potting mix decomposes, it packs in more tightly around the roots and limits the amount of oxygen that is available to the roots. As it decomposes, it also retains more water and may cause root rot.
 If an orchid's health begins to decline, it is likely in need of repotting. Repotting does stress the orchid, so it's best to not allow the decline to become too marked before making the decision to repot. Another indication that it's time to repot an orchid is when you see the roots begin to climb out and spill over the sides of the pot.
 The best time to replant an orchid is after it has completed its bloom cycle and is starting to put out new root growth. It's not advisable to transplant plants when they are in bloom, but if the potting medium is worn out and retaining too much moisture, it might be better to take the risk of losing a few blooms than to risk losing the entire plant.

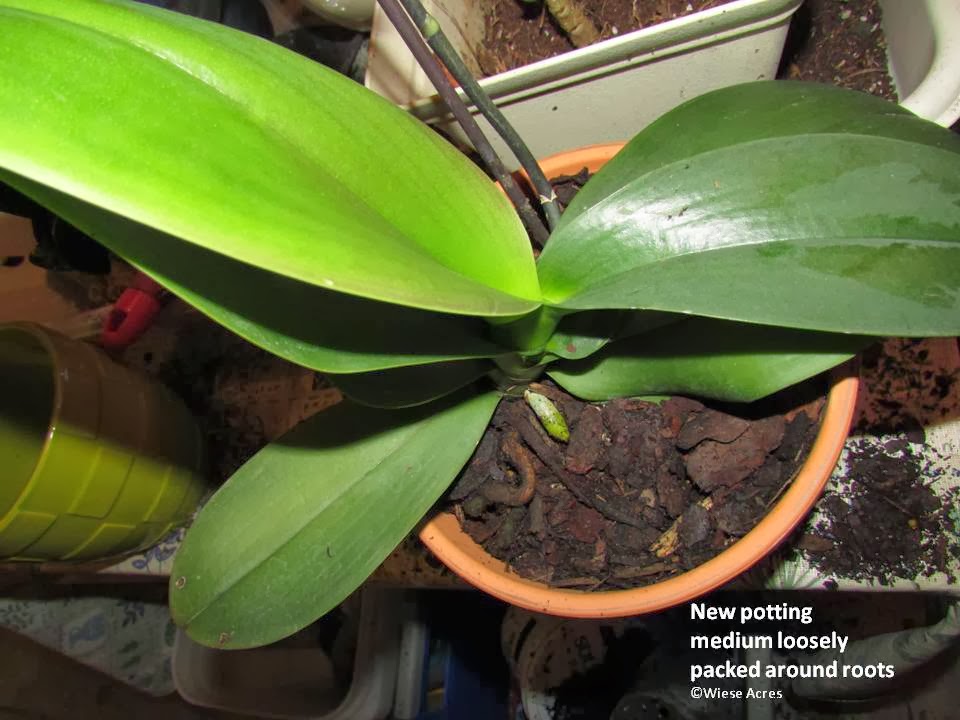
Using the correct potting medium for the type of orchid is important. The potting medium is what encourages root health, and no matter how beautiful the leaves of the orchid may look, if it does not have a good, healthy root mass, the orchid will not produce the beautiful flowers that we covet. Orchids can not be planted in regular potting soil. The most common potting mediums are a mix of bark or coco husk chips, charcoal, and vermiculite or aliflor (a lightweight clay type material). Orchids can also be planted in peat moss, but watering must be done very carefully with this type of medium as peat moss holds more moisture for longer periods of time. Once the correct potting medium is chosen, it should be soaked overnight before using it for transplanting. This will give the orchid roots a nice, moist environment right from the start.
Orchids do not like to be in too large a pot. If the pot is too large, there aren't enough roots to absorb the moisture from the potting mix, causing it to stay too wet for too long. Unlike many other plants, an orchid won't increase root growth to take up the extra space and moisture. Too much pot space leaves the roots setting in a soggy mess and at risk of rotting. An orchid that is in the correct size pot should dry out and need watering about once a week. If you are watering with the recommended amount of water and the potting medium is staying wet for much longer than that, it is probably in too large a pot.
The root ball should be nice and wet when removed from its pot for transplanting. This will help loosen the roots from the sides of the container and loosen the potting medium from around the roots. This can be accomplished by soaking the entire pot in room temperature water for a few hours before attempting to remove them from their containers.
Once the roots and potting medium are good and wet, lift the entire root mass gently upward. If roots are still clinging to the sides of the container, use a very sharp, clean knife to run around the inside of the pot to loosen them.

Once you've removed the orchid from its current pot, you'll be able to tell if it needs a larger pot or not. If all the roots are in good condition and fill the pot, then it is probably ok to go up one pot size. If the roots are in poor condition, they should be trimmed and put back into the same pot size. My orchids were in 4 inch pots, with nice, healthy roots, so I transplanted them into 5 inch pots.

The old potting medium should be gently loosened from around the roots. The roots should be rinsed with clean, room temperature water and any unhealthy roots trimmed away with a sharp scissors or knife. In the photo with the loosened roots, you can see that the ends of some of the roots had lost their nice green color and turned almost white. This indicates that those root ends had been receiving too much water. Those were trimmed back to the nice, healthy, firm green part of the root before transplanting.

A stake should be used to support any flower stalks or floppy leaves to avoid movement that places stress on the root mass.
 The newly transplanted orchid should be set in a protected place out of direct sunlight for a week or so after transplanting. After that, it can be moved back into a location with bright light but not direct afternoon sun and watered normally. Then watch for the new flattened stems with the little "mittens" on the end - that's the flower stalk that will soon be covered with blossoms.
No comments:
Post a Comment